This article is a work in progress.
Bitfocus Companion is a great tool to control ProAV hardware and software, thanks to the extensive REST API in all Plexus products, it's quite easy to control your P-AVN-4 using Bitfocus Companion! This guide walks you through how to get started and some common best practices.
Prerequisites
This guide assumes you have Bitfocus Companion installed and that it has access to the P-AVN-4 over the network.
Some basic knowledge of Bitfocus Companion is recommended.
Creating a Connection
Navigate to your Bitfocus Companion web interface and navigate to the Connections page. In the right column we'll search for "Generic: HTTP" and press "Add" on "Generic: HTTP Requests".
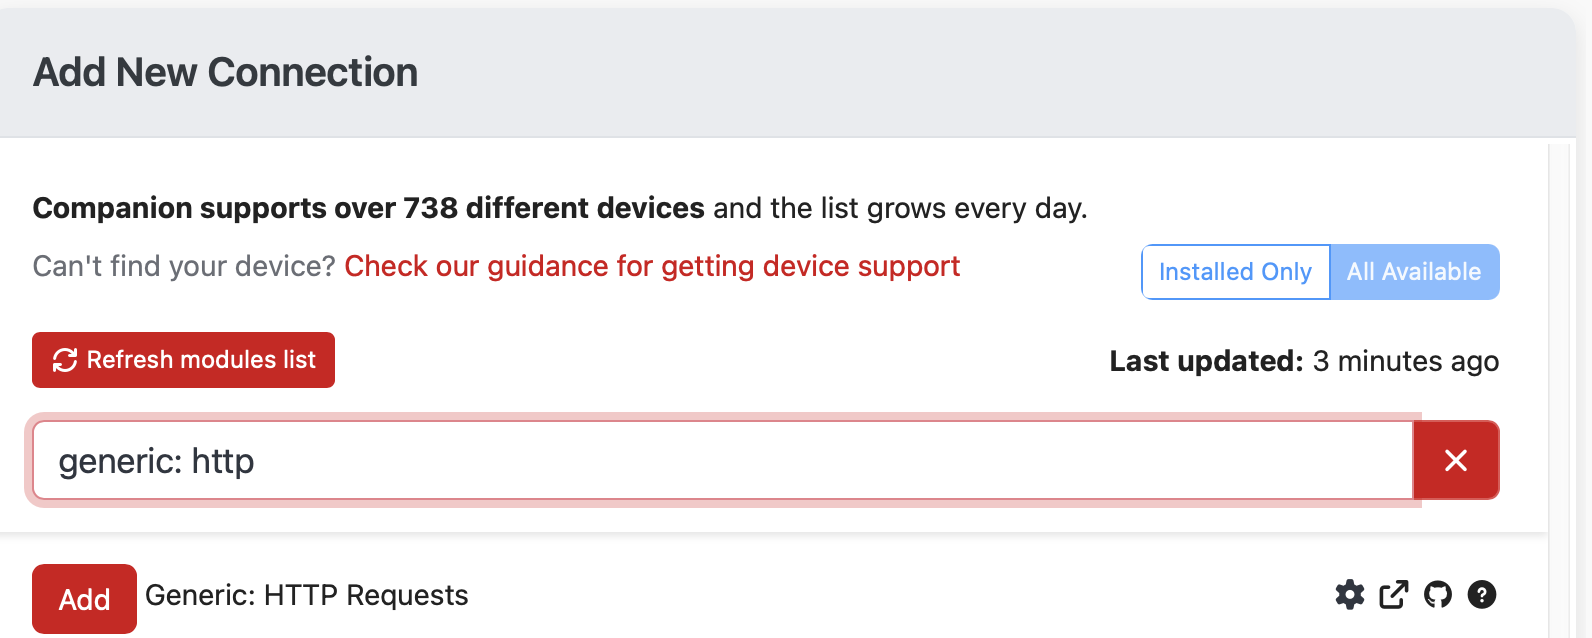
This will then prompt you to label your new connection, give it a clear and recognizable short-hand label, we'll be using P-AVN-4-1 for this guide.
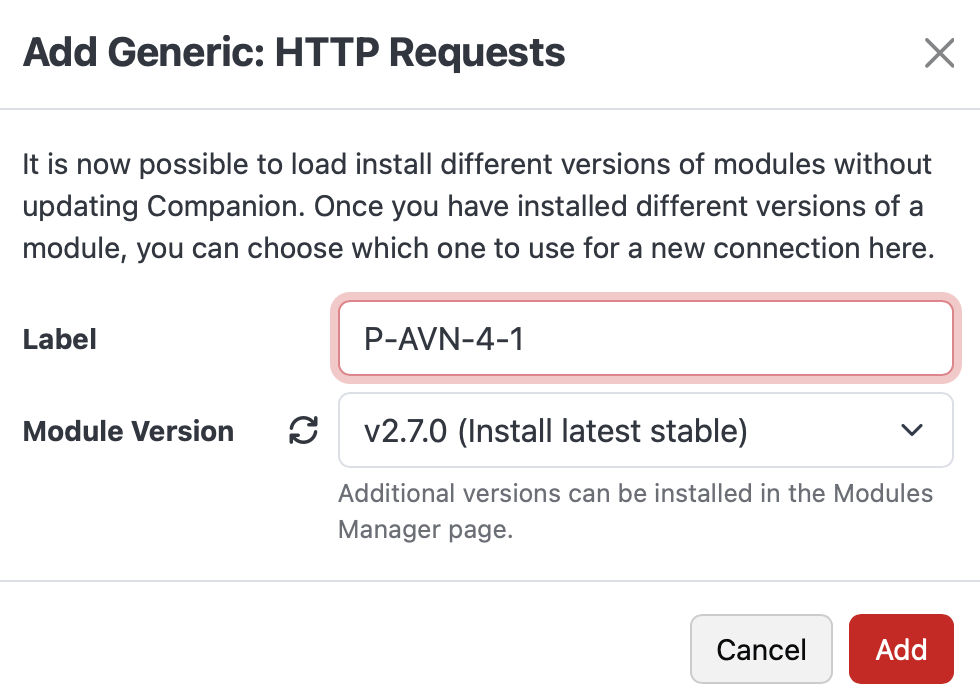
Pressing "Add" will close the modal and your new connection is ready for configuration, we do that by clicking the connection in the list and then we'll need to do 2 things.
First we'll add the Base URL, this URL will be appended in front of each HTTP request, we'll type "https://" and the ip address of our unit, followed by a "/".
Important here is that we allow Unauthoized Certificates, depending on whether you have a custom certificate on your device, this will be required to allow access over HTTPS.
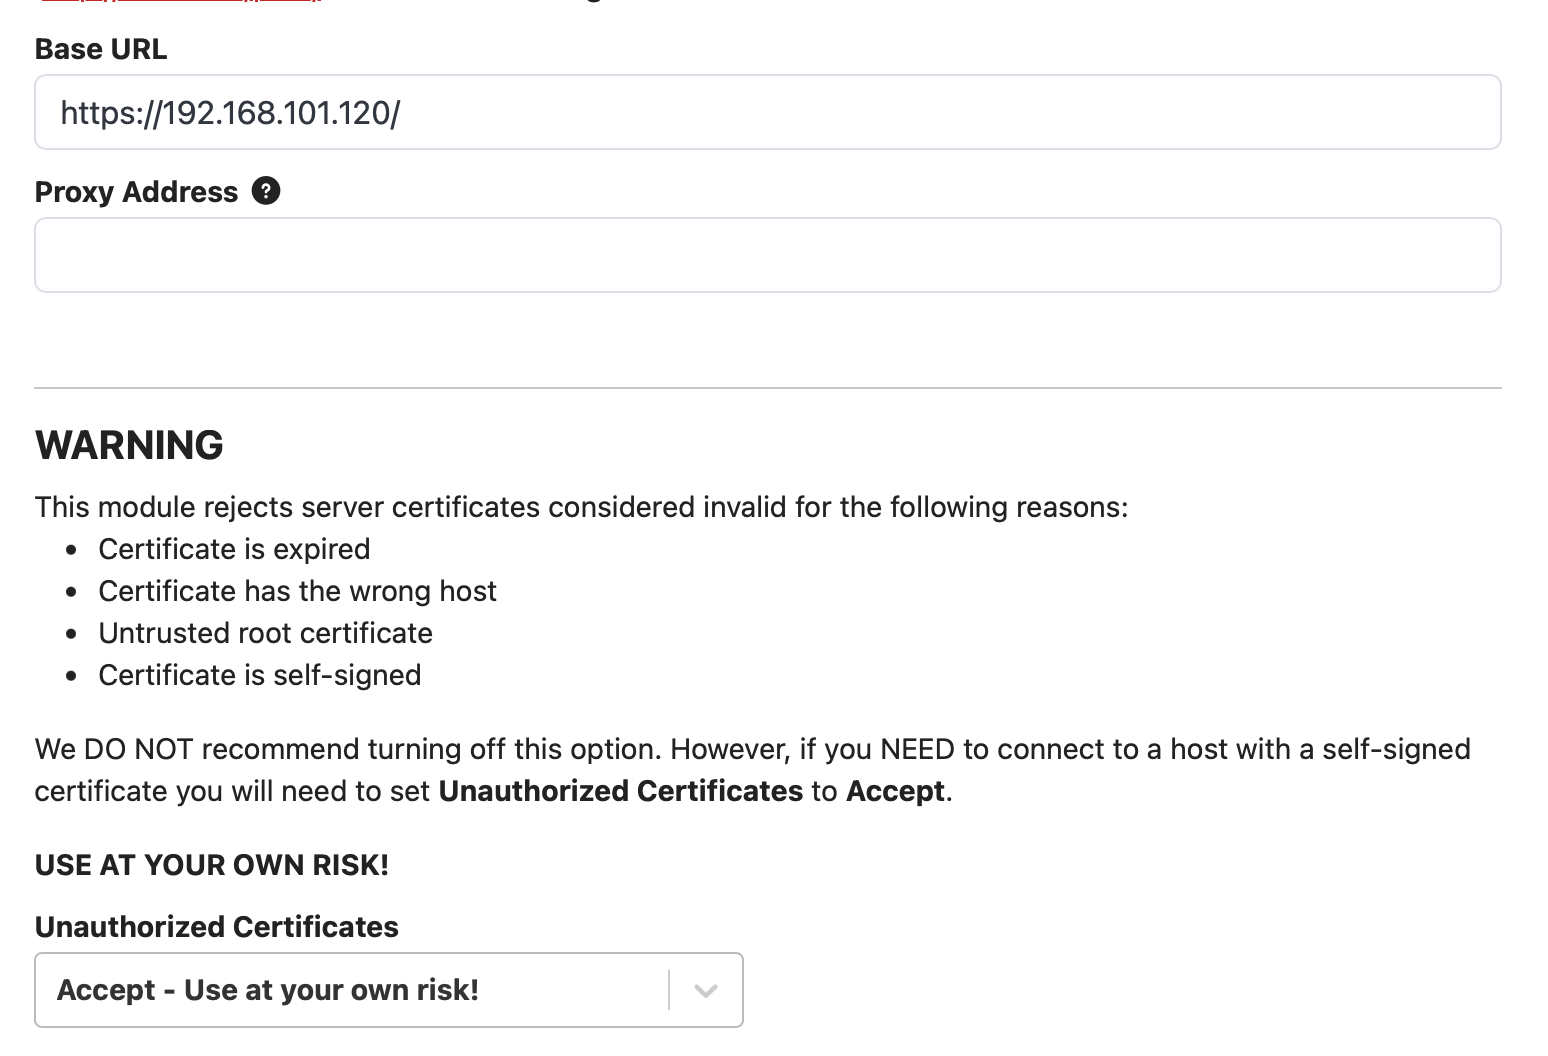
After we've done this, we press "save" and proceed to our first Button!
Creating a Button to toggle authentication
Before proceeding: make sure you have access to the Developer Portal, which contains all API documentation. Access requests typically take about a day before being granted.
By default AVN-4's have a security requirement enabled, to make it easier to manage AVN-4s in a fluid situation there's an endpoint that allows disabling this. Let's create a button to toggle the authentication requirement.
Creating a custom variable to store the authentication state.
To give proper feedback and make it easy to see what our device is currently doing we're going to create a Custom Variable to store the authentication state in. Let's navigate to the Variables page, Custom Variables and then create a variable with the name "avn4_1_authState", a variable cannot contain spaces or hyphens.
We'll give the variable a Startup value of "false", as that represents the state when an AVN-4 boots.
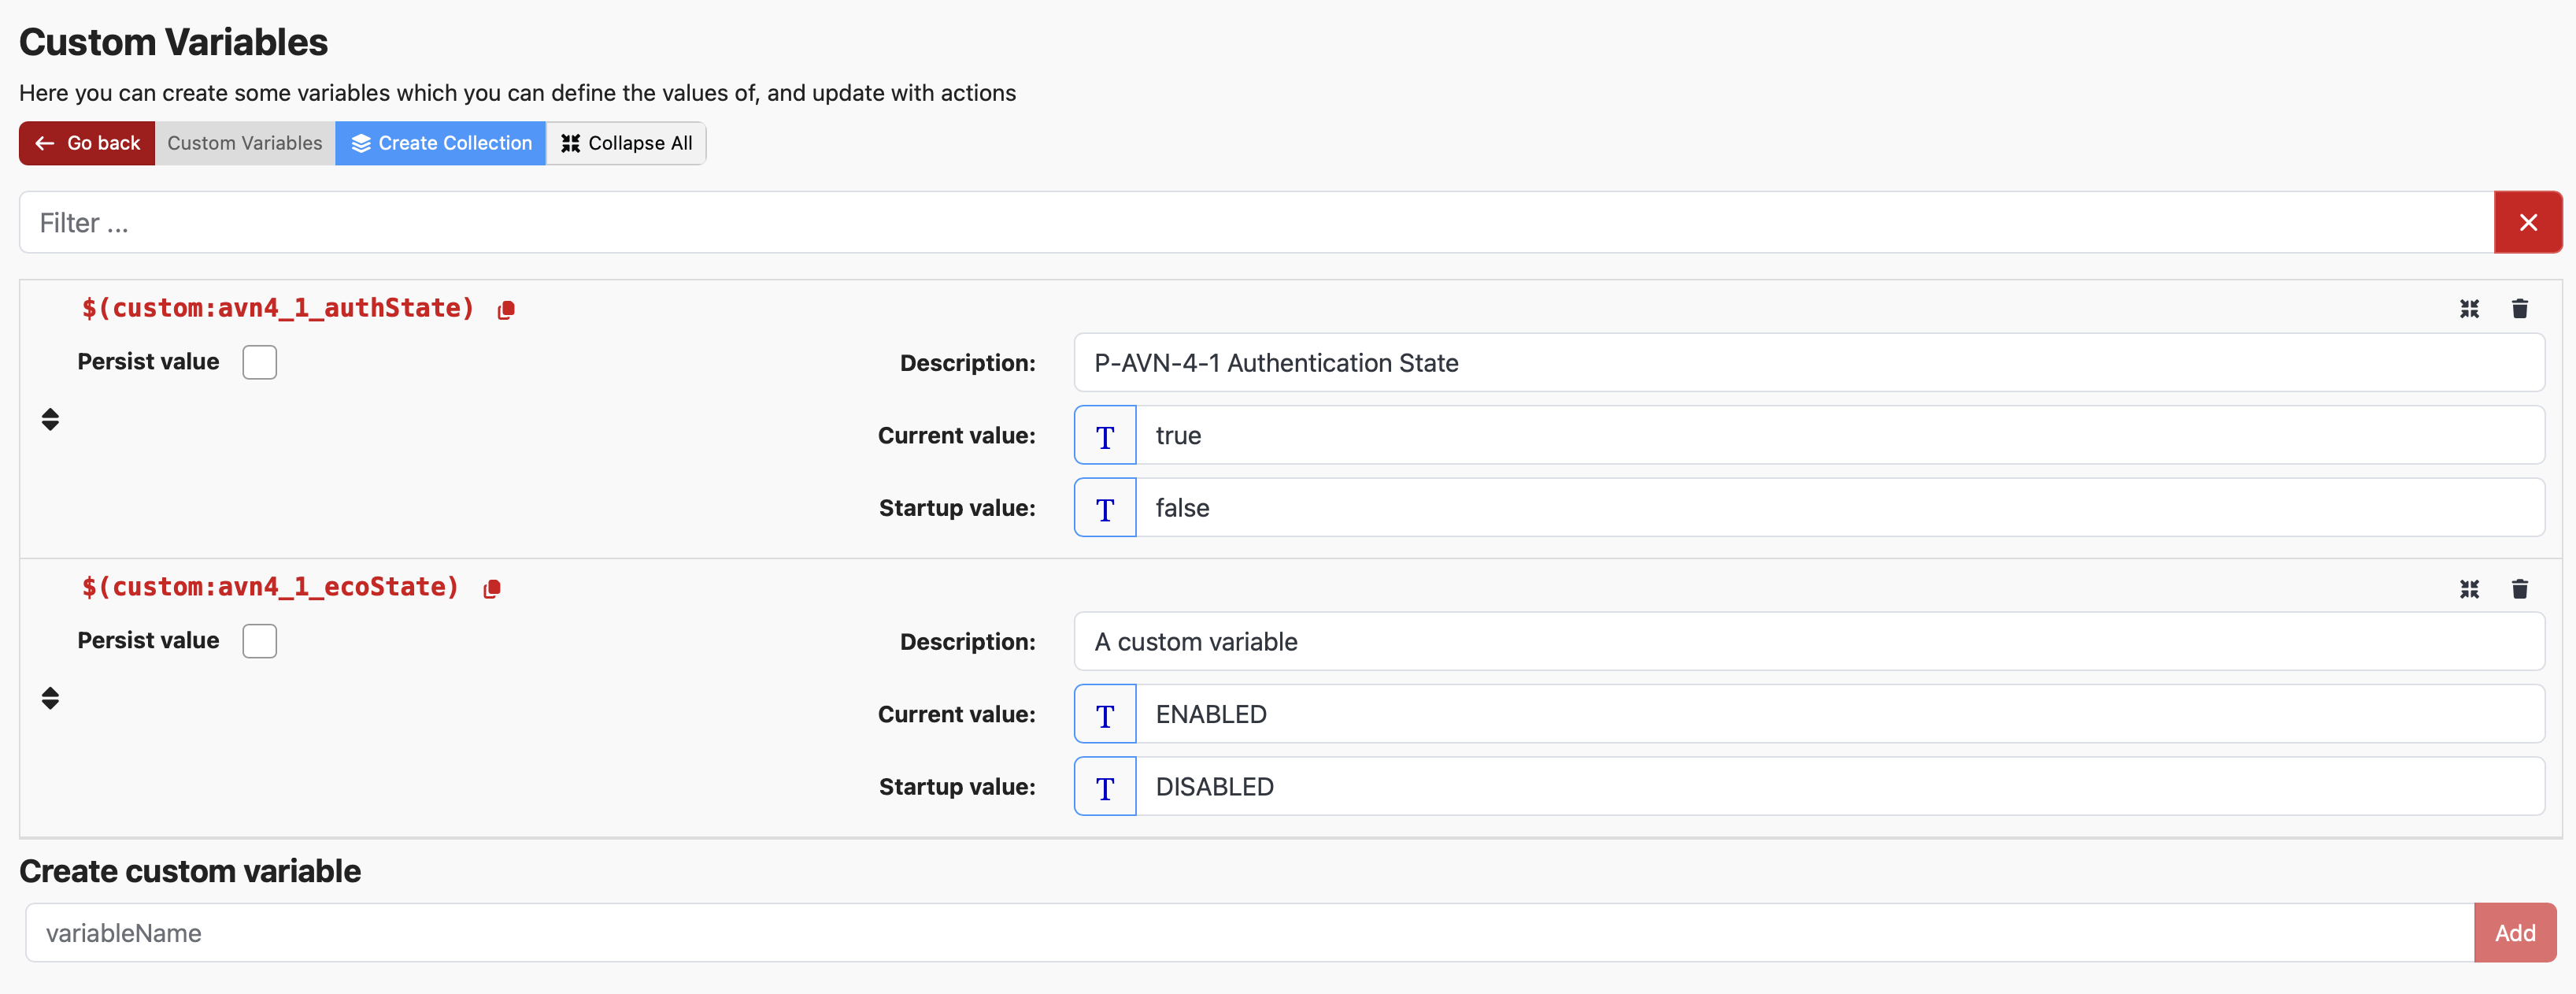
Creating the button to toggle authentication
Let's navigate to the Buttons-page and click our first button (0/0), and give the button a title, for example "AVN-4-1 Toggle Authentication".
Now we're going to build the first step.
Press actions
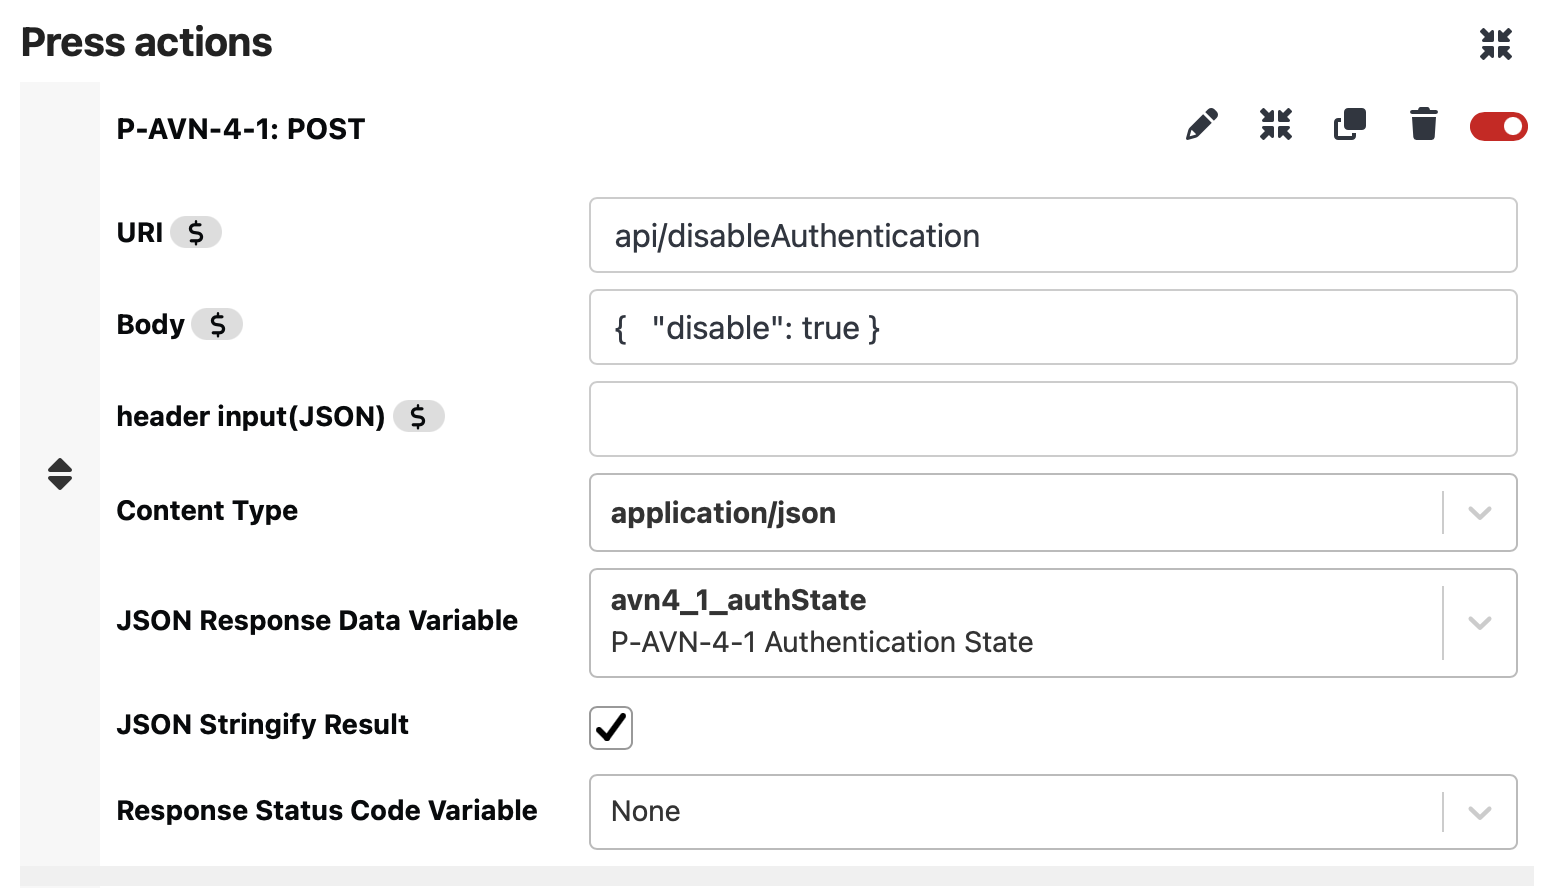
We're going to add an action to POST to the API, type in "P-AVN-4-1: POST", which is the HTTP POST feature of the connection we created.
For URI we'll be putting "api/disableAuthentication" and the body of "{ "disable": true }", as documented on the development portal: https://developer.plexusav.online/docs/files/v2.0/P-AVN-X/security/
We'll then link the Response Data to our custom variable that we created, so that the api response is stored in the variable.
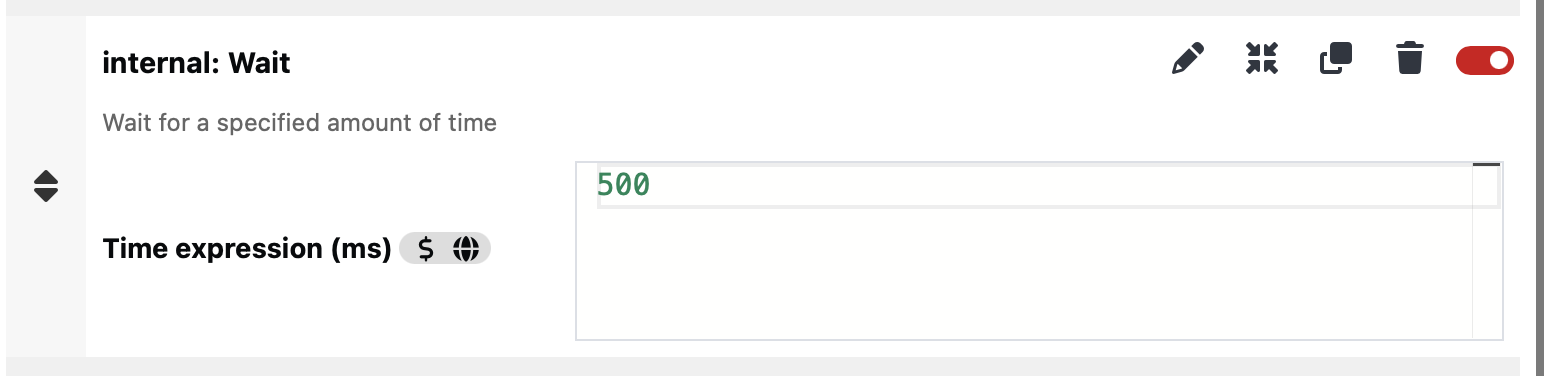
Now we're going to add a second action in the same step, namely a "Wait". APIs can take a bit of time to reply with a message so we're adding a 500ms wait action, like so:
Now for the last part of this step, we'll add a 3rd action, this action will extract the exact state of authentication from the api response we've received and store that in the variable we created.
Add another action called "internal: Custom Variable: Set with expression". For Custom Variable we'll select our "avn4_1_authState" and now for the expression we'll use jsonpath to match the return to only the data we need: "
jsonpath($(custom:avn4_1_authState), '$.data.disableAuthentication')".
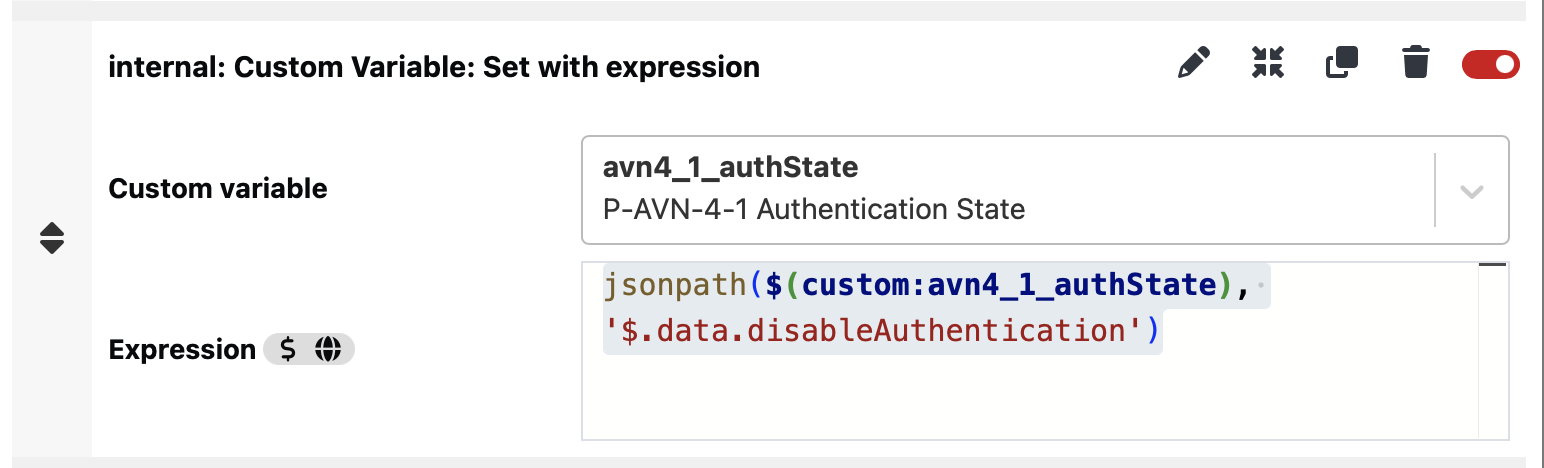
Alright, that's our first step, the button will now disable authentication and store the result of the action in its own variable.
Now we'll need to create the second step to toggle authentication back on.
Scroll back up to the top and next to the stepper selections press the copy button, this will copy all our work to a second step.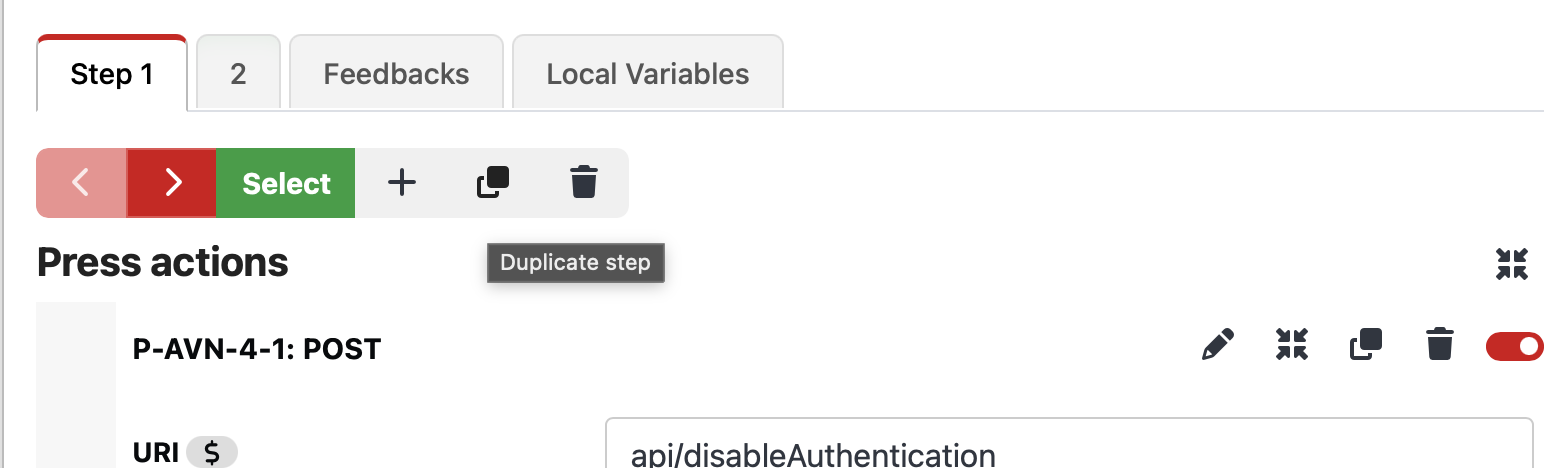
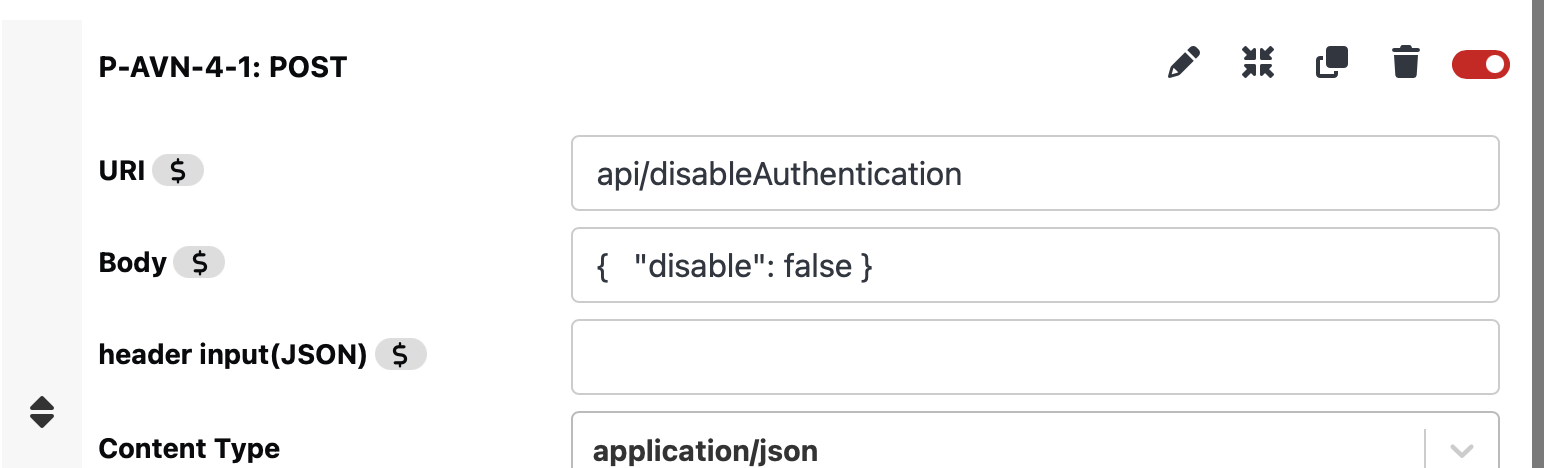
Click the "2" button at the steps and we only have to edit one thing, change the body to set "disable" to "false", like so:
 Feedbacks
We also want to visualize what the state is, to do that we'll be using the "Feedbacks" tab. In the "Add feedback" field we'll search for "internal: Variable: Check value
Was this article helpful?
That’s Great!
Thank you for your feedback
Sorry! We couldn't be helpful
Thank you for your feedback
Feedback sent
We appreciate your effort and will try to fix the article